Showing posts with label DIY. Show all posts

Monday, October 13, 2014

Re-done Furniture by Me

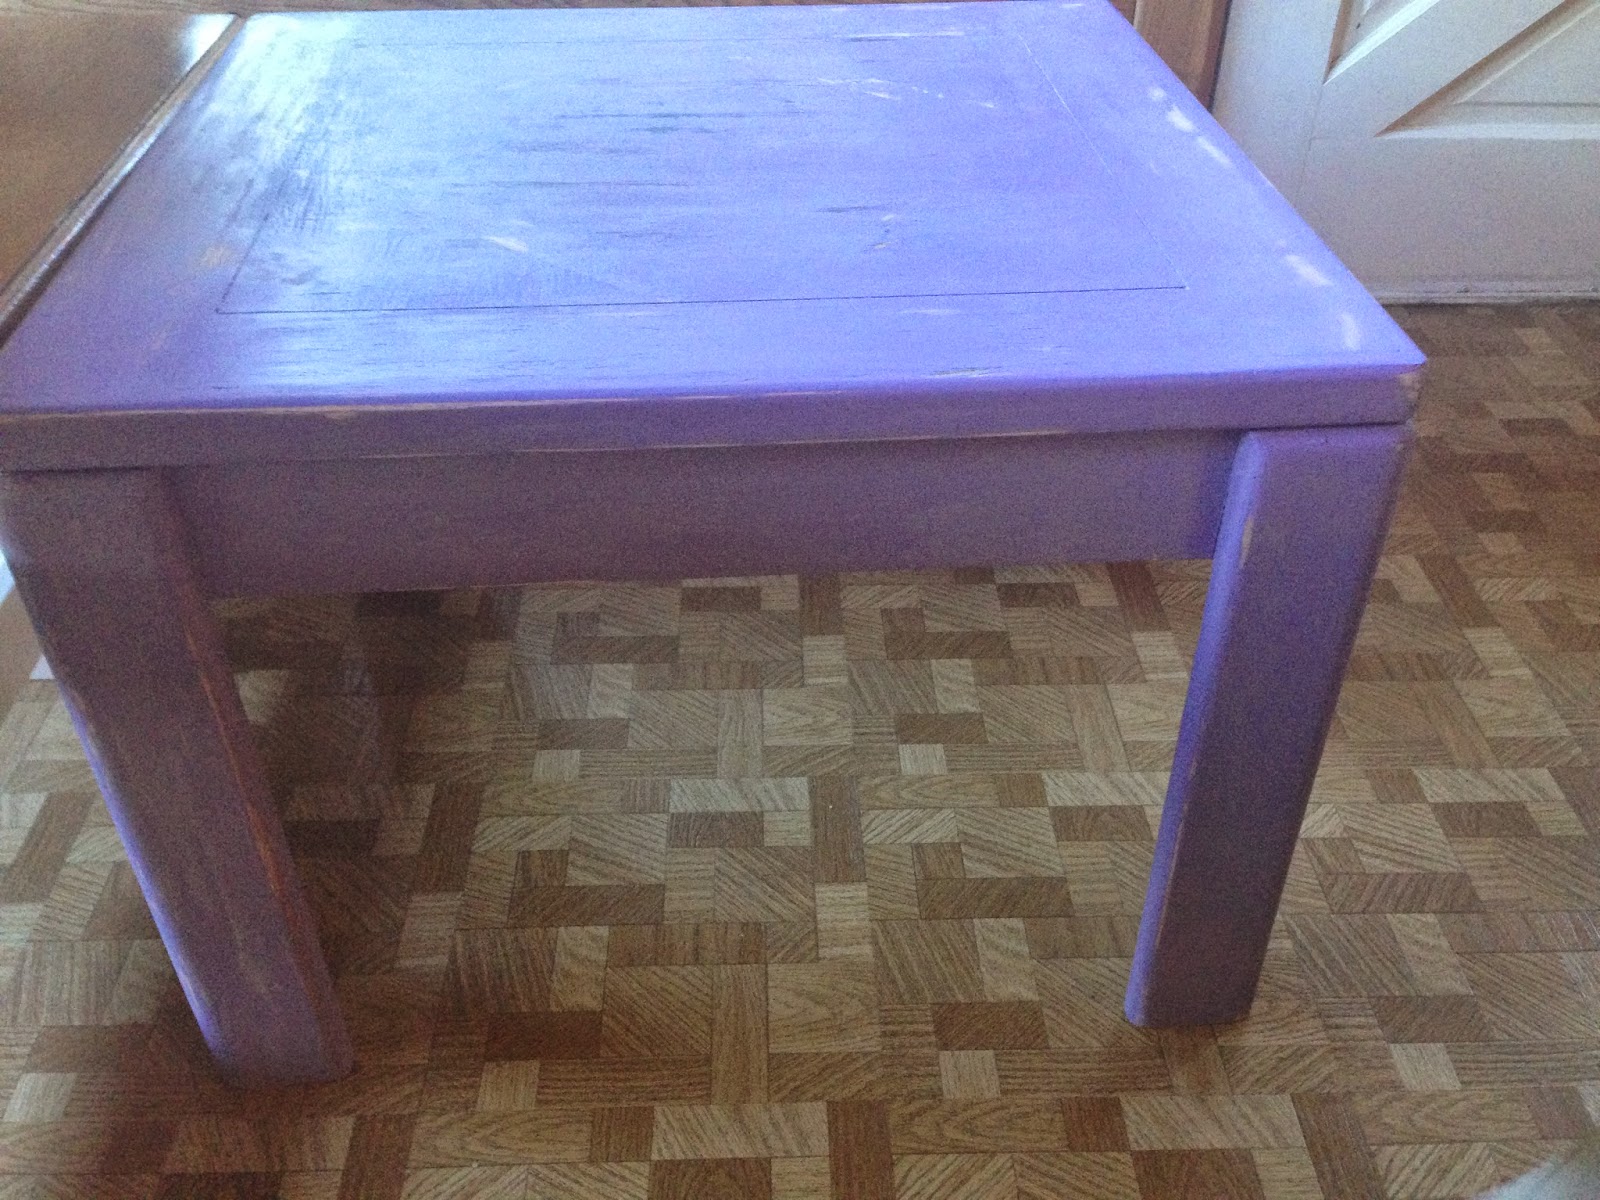
I've been working on a couple of pieces this summer that I thought I would share. Both of these were awesome finds that I found super cheap at thrift stores. My chair was $2 at the local thrift store and the table was $10. I added a fresh coat of paint to my chair and for the table I painted it with the martha stewart chalk paint and did some distressing. 

My Chair


Added some cushion Flare~


MY TABLE


Thursday, September 25, 2014

My Coasters

I made these awesome coasters!!! I had Gabe, my talented woodsmen boyfriend cut me the wood! Then I printed Laser Printed photos from Staples. And transferred the images to the wood with Gel Medium from Michaels. This is a project that I had been dying to do for a long time. Some came out better then others. I hope to transfer more images to different pieces of wood for christmas presents. 


Directions:
1. Paint a generous coat of the gel medium on the wood
2. Press the image down on the gel medium and let dry for 4 hours
3. Wet the image down with a wet wash clothe and rub away the paper

And there you have it. 

Optional:
Paint a coat of the vintage mod podge over it, or the regular. I tried both and loved them both. 


Friday, July 18, 2014

Rock painting

Who would of ever thought, seriously, that painting rocks would be so much fun? But seriously! I needed something to spruce up my deck alongside my flowers. I was pintresting and came across it. Painting rocks is some serious business to some. Don't believe me… search it on pintrest. Theres an abundance of cute ideas out there and it got me inspired. 

I even turned my painting rock obsession into a fun happy hour with the girls. I had wine and cheese and set up the arts and craft station and we got busy. It was perfect, rocks are cheap and I have an abundance of them in my yard. If they don't turn out, you can just laugh about it and not feel bad that you wasted a canvas, but instead a rock. We had fun and they turned out cute.


Tuesday, June 10, 2014

My Cactus Garden

Anyone can do this. It's Easy and Cheap. All you need is a pot with some good surface area And your choice of cactus's and succulents.  I bought my container at a thrift store for $2. Make sure the container has an efficient drainage system, because cactus's and succulents should not sit in a moist atmosphere, it should be quick to dry. You should also get some cactus soil to plant everything.  My cactus garden includes 2 cactus's and an aloe vera plant. The aloe vera plant holds quite a few benefits for the human body. Aloe Vera also kills mold, bacteria, viruses, and funguses! Everyone should own a cactus garden.


Tuesday, October 8, 2013

A peek @ the Pumpkin Art this Fall

Halloween!!!!  This is a nice little display of the start of my friend and I's masterpieces of the season. 

The pumpkin on the left has a gold glittler stem with some glow in the dark swirls. The middle pumpkin is another creation of the crayon wax being dribbled all over, mixing colors, with a purple glittery stem. The last one is from painters tape, taped on to your own liking of a design and then painted over with glitter. Here we did the chevron design. Our beautiful pumpkins dazzle up the room and we're still going to town. Get your Halloween on. 

Friday, October 26, 2012

Pumpkin Art

Instead of carving pumpkins this year, Lindsay and I made wax pumpkins! COLORFUL :)We bought a box of 24 crayons and dripped candle wax all over the tops. They turned out really cool and they last long because they don't rot away and shrivel up.

I love Pumpkins.

Sunday, September 30, 2012

Bottle Cap Wind Chime


You always wonder what to do with all your recycled bottle caps, well...heres an idea.... Make a bottled cap wind chime!!!!
                                                                  
All you need is
1. Bottle caps
2. Wire
3. 2 sizes of jump rings to connect the bottle caps
4. A base to hang everything from (be creative.)
5. Drill/hammer nail
6.Scissors

Directions
1. Drill 2 holes in all the bottle caps or nail, whatever you prefer.
2. Connect all the bottle caps with the jump rings. The pattern will go Bottlecap-big jumper-small jumper-big jumper-bottlecap. Repeat the pattern until your chain is complete. Make 6 chains of 6 bottle caps and 4 chains of 8 bottle caps. The 4 long chains will go on the inside and the 6 shorter chains will go on the outside. 
3. Connect the chains to whatever creative base you found (You will also need to make holes in the base too, 4 on the inside, and 6 on the outside. The jump hooks are likely not going to fit through the base, so thats where the wire comes in. You can hook the wire through the base holes, and then hook it through one of the holes on the chain of the bottle caps. After connecting all the chains to the base, Your Wind Chime is complete!!